+86-20-86215789 service@adhesive-dy.com

Views: 0 Author: Site Editor Publish Time: 2026-06-30 Origin: Site
Finishing work often leaves behind a stubborn mess, especially when using traditional silicone and polyurethane caulks. Selecting the right sealant requires balancing long-term durability with application efficiency. Project delays, substrate damage, and aesthetic failures frequently occur when users choose the wrong sealant type for interior finishing, leading to costly remediation. Acrylic Sealant has become the industry standard for specific interior finishing tasks due to its forgiving nature. We see contractors struggle with solvent-based products on delicate drywall or custom trim. The wrong choice means hours of scraping and repainting. This article provides an objective evaluation of its cleanup properties, curing phases, and overall viability as an interior gap sealant compared to alternative chemical formulations. We will look at exactly how water evaporation drives the curing process and what that means for your punch list.
Time-Sensitive Simplicity: Uncured, water based acrylic sealant cleans up rapidly with just water and a damp cloth, offering a significantly lower barrier to entry than solvent-based alternatives.
Cured Complexity: Once fully cured, acrylic sealant loses its water solubility and requires mechanical scraping or chemical softening, making immediate tooling and prompt cleanup critical.
Application Specificity: Its primary value lies in its role as a paintable acrylic sealant for dry, interior environments (trim, baseboards, cabinets, drywall), not for high-moisture or high-movement joints.
Risk Mitigation: Proper surface preparation, masking tape strategies, and having the right post-removal cleaning agents on hand eliminate 90% of cleanup challenges and protect delicate substrates.
The chemical composition of acrylic sealant relies on an emulsion of acrylic polymers suspended in water. As the water evaporates into the surrounding air, the polymers bind together tightly. This physical change triggers the curing process. This contrasts sharply with moisture-curing silicones, which actually pull atmospheric humidity out of the air to cure and form a rubbery seal. Because the primary carrier in acrylic is simply water, the cleanup process is fundamentally different and much simpler during the initial application phase. You do not need harsh chemicals to break down the binder while it remains in its wet state.
This fundamental difference dictates your cleanup requirements on the job site. Acrylic earns the reputation of an easy clean up caulk because it requires no mineral spirits, acetone, or specialized degreasers during the wet phase. You can simply wipe away excess material with a damp rag. Solvent-based alternatives demand harsh chemicals to remove even fresh mistakes. Using solvents increases the risk of damaging surrounding finishes, melting certain plastics, or leaving oily residues that ruin subsequent paint jobs. A water based acrylic sealant bypasses these chemical hazards entirely.
It is important to clarify the scope of this material. Search results often confuse construction-grade acrylic sealants with artist-grade acrylic varnishes. Construction-grade acrylic is a thick, high-viscosity paste designed specifically for building joints and structural gaps. Artistic finishes are thin liquids used to protect canvas paintings. They differ entirely in cleanup, application, and formulation. You cannot use artist soap to clean construction sealant off your hands, and you cannot use construction sealant to glaze a painting. We are focusing strictly on the heavy-duty building materials used by carpenters and painters.
Sealant Cleanup Comparison | |||
Sealant Type | Wet Cleanup Method | Cured Cleanup Method | Primary Carrier |
|---|---|---|---|
Acrylic | Warm water and damp cloth | Mechanical scraping, isopropyl alcohol | Water |
100% Silicone | Mineral spirits, denatured alcohol | Razor scraper, commercial silicone solvent | Solvent/Moisture |
Polyurethane | Xylene, specialized industrial solvents | Aggressive mechanical grinding, heavy scraping | Solvent |
The working time for acrylic sealant is relatively short. You typically have a 10 to 15-minute window before the surface begins to skin over. During this timeframe, cleanup is effortless. Once the skin forms, wiping becomes difficult and can ruin the smooth finish of the joint. If you drag a rag across a partially skinned bead, it will tear the surface, leaving a jagged, unprofessional texture that looks terrible once painted.
You only need a minimal toolkit for wet cleanup. Keep these items within arm's reach before you pull the trigger on the caulking gun:
A bucket of clean, warm water.
Several heavy-duty sponges.
Lint-free microfiber cloths.
A mild dish soap with a degreasing agent for stubborn wet residue on non-porous surfaces.
To wipe away excess uncured sealant without smearing it into porous substrates, follow a strict process. First, tool the joint to push the sealant deep into the gap. Second, take a damp, not soaking wet, cloth. Wipe in one continuous direction, lifting the excess material away from the joint rather than pushing it flat. Rinse the cloth frequently in your water bucket. If you use a dirty rag, you will spread a thin, invisible film of acrylic over the surrounding area. When that film dries, it creates a rough texture that flashes through the final coat of paint.
Fully cured acrylic sealant shifts in its physical properties. It becomes water-resistant and is no longer soluble in water alone. The easy cleanup window closes completely, and removing the material requires a much more aggressive approach. You cannot simply scrub it away with a wet sponge once the water has evaporated from the polymer matrix.
Mechanical removal is the primary method for old, dirty, or discolored sealant. You need to physically break the bond between the sealant and the substrate. Here is the standard removal sequence:
Slice along both edges of the sealant bead using a sharp utility knife to break the adhesion to the wall and trim.
Use a stiff putty knife or a 5-in-1 painter's tool to pry the bulk of the bead out of the joint.
Switch to a razor scraper to carefully shave off the remaining thin layers of residue.
Vacuum the joint thoroughly to remove all dust and dried acrylic flakes.
Chemical assistance can help soften cured acrylic if mechanical scraping proves too difficult or risky for the substrate. You can use 70% isopropyl alcohol or commercial caulk removers to break down the material. Apply the solvent directly to the old bead, let it sit for a few hours to soften the polymers, and then proceed with mechanical scraping. The solvent swells the acrylic, making it crumbly and easier to detach.
Post-removal residue cleanup is a critical step. Wipe the stripped area with rubbing alcohol or a degreasing agent to remove leftover chemical residues. This ensures a clean slate for the adhesion of new sealant. If you leave old caulk remover in the joint, the new sealant will fail to bond and will peel away within weeks.
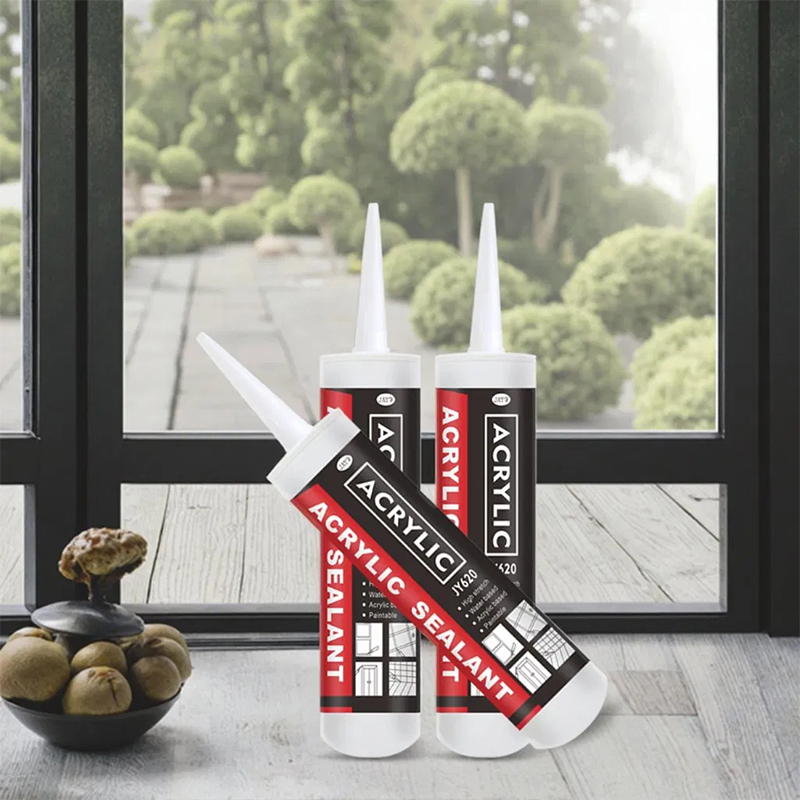
A successful baseboard, crown molding, or window casing seal requires excellent adhesion, a lack of shrinkage, and a smooth finish. As an interior gap sealant, acrylic performs exceptionally well in these dry environments. It provides a clean transition between different building materials, hiding the inevitable framing imperfections and drywall bows that plague modern construction.
When bridging gaps between walls and built-in cabinets or countertops, acrylic sealant ensures a seamless aesthetic transition. It fills the voids neatly and can be tooled to a nearly invisible edge. We frequently use it to blend custom MDF built-ins into imperfect plaster walls. The sealant acts as a visual bridge, making the cabinet look like a permanent architectural feature rather than a piece of furniture pushed against a wall.
The easy cleanup process prevents the "flashing" or staining often seen when silicone residue is left on matte interior walls. Because wet acrylic wipes away cleanly with water, it does not leave a greasy film. Silicone, on the other hand, leaves an invisible slick spot. When you roll flat wall paint over a silicone smear, the paint separates and crawls away from the residue, leaving a glaring defect. Acrylic eliminates this risk entirely.
Using acrylic to bridge minor settlement cracks in drywall or plaster is a common methodology. As a wall crack filler, it remains flexible enough to handle slight seasonal movements while providing a smooth surface for painting. Hard spackle or joint compound often cracks again when the house shifts during winter heating cycles. Acrylic stretches just enough to keep the crack hidden.
Water-solubility allows for feathering the edges with a damp sponge. This tooling technique blends the sealant seamlessly into the surrounding wall. You apply a thin bead over the crack, press it in with a putty knife, and immediately wipe the edges with a wet sponge. This eliminates the need for aggressive sanding later, keeping hazardous silica dust out of the air and speeding up the repair process significantly.
The molecular structure of acrylic allows paint to adhere to it perfectly. Unlike silicone, which repels water-based paints and causes them to bead up, a paintable acrylic sealant accepts standard interior latex paints without issue. The paint bonds to the acrylic polymers just as it bonds to drywall paper or primed wood.
Rapid cleanup and fast skin-over time accelerate the transition from the sealing phase to the painting phase in professional workflows. You can often paint over acrylic sealant within a few hours. On fast-track commercial jobs, painters will caulk all the trim in a room first thing in the morning, and by the time they finish prepping the walls, the caulk is ready for the topcoat. This keeps projects on schedule and prevents costly downtime waiting for materials to cure.
Detailing the "wet finger" technique is essential for a smooth finish. Dip your finger in clean water and run it lightly over the bead with consistent pressure. Do not push too hard, or you will scoop the sealant out of the joint. You can also use specialized profiling tools made of flexible rubber to achieve a perfect concave joint. These tools scrape the excess material away cleanly, leaving a uniform bead that looks machine-applied.
Advocate for the use of low-tack painter's tape to create perfect lines. Applying tape on both sides of the joint allows you to tool the sealant and then remove the tape immediately while the acrylic is still wet. This bypasses the need for extensive cleanup entirely. You get a razor-sharp caulk line with zero smearing on the adjacent surfaces. Just remember to pull the tape before the sealant skins over, or you will tear the bead.
The cleanup process varies drastically based on the substrate you are working with. You must understand how the material will react to wet acrylic.
Glazed Tile and Gloss Trim: Cleanup is highly successful and straightforward. The water-based sealant cannot penetrate the hard, glossy surface.
Unpainted Drywall: Uncured sealant can absorb into the paper facing, causing slight swelling or staining if rubbed too aggressively.
Raw Wood: The moisture in the acrylic can raise the grain of the wood, and the polymers can sink into the pores, making it impossible to wipe away completely.
Matte Painted Walls: Scrubbing wet sealant off flat paint will often burnish the paint, leaving a shiny spot that ruins the wall's finish.
Recommend priming raw surfaces prior to sealant application. This creates a hard barrier that prevents absorption and facilitates easier cleanup if over-application occurs. A coat of PVA primer on drywall or a shellac-based primer on raw wood seals the pores, allowing you to wipe away mistakes without leaving a permanent mark.
High heat and low humidity drastically reduce the "easy cleanup" window by accelerating water evaporation. If you are working in a house with the furnace running full blast during winter, the air is incredibly dry. The sealant will skin over much faster in these conditions, requiring immediate tooling and wiping. You might only have three minutes before the surface becomes unworkable.
Advise on working in smaller sections, such as 3-4 foot runs. Do not run a continuous bead around an entire room before tooling. Apply a few feet, tool it, wipe the excess, and then move on. This ensures tooling and cleanup are completed before the sealant skins over, preventing a messy, torn finish.
While water-based cleanup is convenient, it inherently means standard acrylic sealant is unsuitable for submerged or continuous-water exposure. It is not a waterproofing product. If you use it in shower pans, exterior applications exposed to heavy rain, or around kitchen sinks where water pools, the acrylic will eventually re-emulsify, break down, and wash away. You must respect its limitations as an interior, dry-area product.
Compare the elasticity of acrylic to 100% silicone. While acrylic is easier to clean and paint, it has flexibility limitations. It may crack under extreme joint movement. If you are sealing a joint between two materials that expand and contract at vastly different rates—like a brick fireplace meeting a wood floor—acrylic will likely fail. Silicone is better suited for areas with significant expansion and contraction, even though it is a nightmare to clean up.
Acrylic's porous nature makes it more prone to dirt accumulation and mildew compared to silicone. The surface of cured acrylic is slightly textured at a microscopic level, which traps dust. This necessitates periodic deep cleaning or complete replacement in areas prone to dust or slight dampness, such as baseboards near exterior doors.
Siliconized acrylic sealants offer a hybrid compromise. Manufacturers blend a small amount of silane into the acrylic emulsion. They provide slightly better flexibility and moisture resistance while maintaining relatively easy water cleanup and paintability. They are a versatile choice for many interior applications where you need a bit more performance without sacrificing the easy cleanup.
Acrylic sealant is definitively easy to clean up if addressed during the pre-cure window, making it the superior choice for dry, interior, paint-grade finishing. Choose acrylic for baseboards, trim, wall cracks, and wall-to-cabinet joints where painting is required. Choose silicone for wet areas despite the difficult cleanup. To ensure a successful application, follow these steps:
Evaluate your specific joint movement requirements and moisture exposure before selecting a product.
Select a high-quality paintable acrylic sealant designed specifically for interior trim.
Prepare your workspace with a bucket of warm water, clean sponges, and microfiber cloths before cutting the nozzle.
Apply the sealant in short, manageable sections to ensure you can tool and clean it before it skins over.
A: Yes, warm water is sufficient for cleanup, but only before the sealant skins over and cures. Once the water evaporates and the polymers bind, water will no longer remove it.
A: Soften the dried sealant with rubbing alcohol or a warm damp cloth. Follow this with gentle mechanical scraping using a plastic putty knife to avoid damaging the underlying paint.
A: No. Acrylic is water-based, paintable, and easy to clean during application. Silicone is solvent-based, highly flexible, waterproof, repels paint, and is very difficult to clean.
A: It typically takes 30 minutes to 2 hours for skinning, allowing for paint application. However, always check manufacturer specifications, as humidity and temperature drastically affect drying times.
A: Isopropyl alcohol can soften and degrade cured acrylic sealant. It is highly useful for removal but dangerous for routine cleaning of finished, painted joints.
A: It can be used for decorative trim, baseboards, and crown molding in a bathroom. It should never be used inside shower enclosures or areas with standing water.
A: Use a damp cloth with 70% isopropyl alcohol or a dish soap with a degreaser. Gently wipe the area clean, ensuring a completely residue-free surface before applying new sealant.


